Mittwoch, 31. August 2011

Running out of leaves

Following this tutorial, I have put a little bit more detail to this base I have painted about two years ago. The leaves are not yet painted, they will get some nuances that will also be present in the viking's clothes. Hope you like it.


Chris

Dienstag, 30. August 2011

Some music...

I'm not that much into gaming on a console or PC nowadays, but there is one huge exception: The Elder Scrolls. I think I have spent months of my life in Morrowind and Oblivion, just to collect burning candles to decorate my house or looking for the last missing part of my full armour collection. In a few months, I will turn into a hardcore nerd once again. To be more precise, on 11.11.11 Skyrim will be released, the fifth part of the Elder Scrolls Saga. The reason I am telling you this is because there is some great music included as well. The first song is fanmade, the second one is official. Enjoy...


What about you, are you a fan of the saga as well? Do you have any other preferences?


Chris

Montag, 29. August 2011

Painting with the monkeys, weisern and Sebastian Archer

Yesterday I was invited to join the Jungle Crew in the holy halls of hallucinating creativity. Some "special guests" from Australia spent some days here in Augsburg and brought some awesome miniatures as well. I is always a pleasure to talk to Seb and weisern, they are just cool and humble guys. I didn't paint at all, the Aussies told us about Crocs, GW-politics and antivenom and we talked about future plans. Big Kong taught us some theory concerning colours, Chewbacca-style (awesome time, will never forget that)....^^

Some pics....


By the way, I finished the live painting miniature on Saturday and took it to Raffa. He will kindly take pictures, so I will soon show the final result and some Games Day miniatures.


Chris

Freitag, 26. August 2011

Live painting, update #10: we need a medic over here!!!

I took a nap and painted some blood. Vallejo Air Fire Red mixed With Vallejo Air Black (5:1) plus some Glaze Medium. Not that bright red irl.


Up next is the remaining bag, then I will attach to mini to the base and paint the boots.


Chris

Live painting, update #9: drought soil

What a strange morning this was. Yesterday in the evening I still thought about the base and decided to do some sort of dry soil, maybe a riverbed. As I ordered Distress Crackle Paint some weeks ago, I finally wanted to try it. As I never worked with it before, I had to try different sorts of drying, applying and thinning. That took me about 3 hours this morning, so I didn't paint anything on the miniature itself. However, I managed to create a base that seems ok for me. I will add some dry wood and the soldiers gun and that is it. Very simple but not just sand....

Here is the wip, I forgot to take a picture of the Distress Crackle Paint that was put on the base after the Vallejo Sanding Paste had dried. Sorry for that...


I carefully chose the front side of the base.


I use this quite often, a great product from Vallejo.


Using a toothpick saves your brush from dying an uncomfortable death.


This takes about 15 minutes to dry. Coffee time...


After the sanding paste was dry, I put a thin layer of crackle paint on top
and threw the base into the oven at 50 for 3 minutes.


The result, I am satisfied with this.


The rough paintjob is done, now I have to go into detail.


Chris

Donnerstag, 25. August 2011

Some scenic inspiration from Ethiopia

As the miniature I am currently painting is standing somewhere in Ethiopia (Abyssinia at that time), I just searched for a decent landscape to put on my base. This are some of the more inspiring pictures I found.


Chris


Live painting, update #8: worn bag

Another small update, I guess it is the last one for today. I didn't manage to paint as much as I thought I would, mainly because of the high temperature (30+ degrees at my painting desk). My aim is to finish the mini untill tomorrow 12am, including the base.
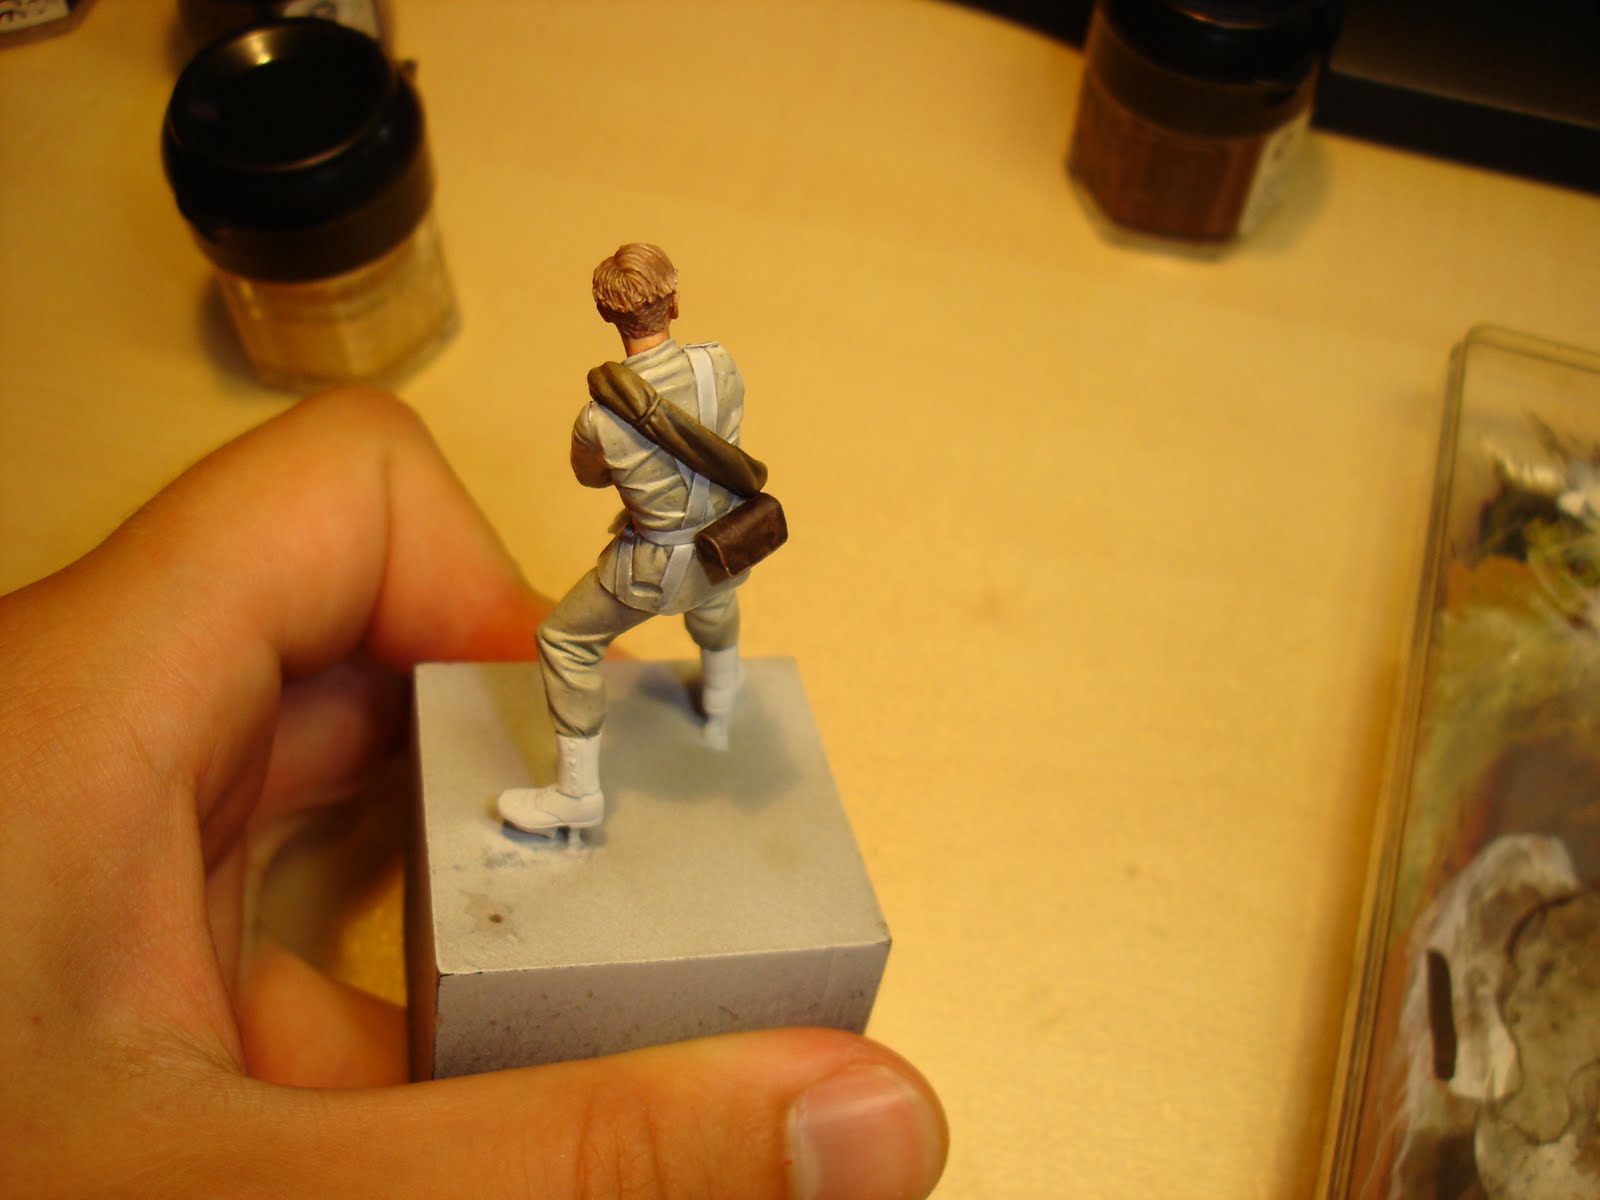
I took a wip shot during the painting of the worn leather but it turned out quite bad. This is the way I painted it:

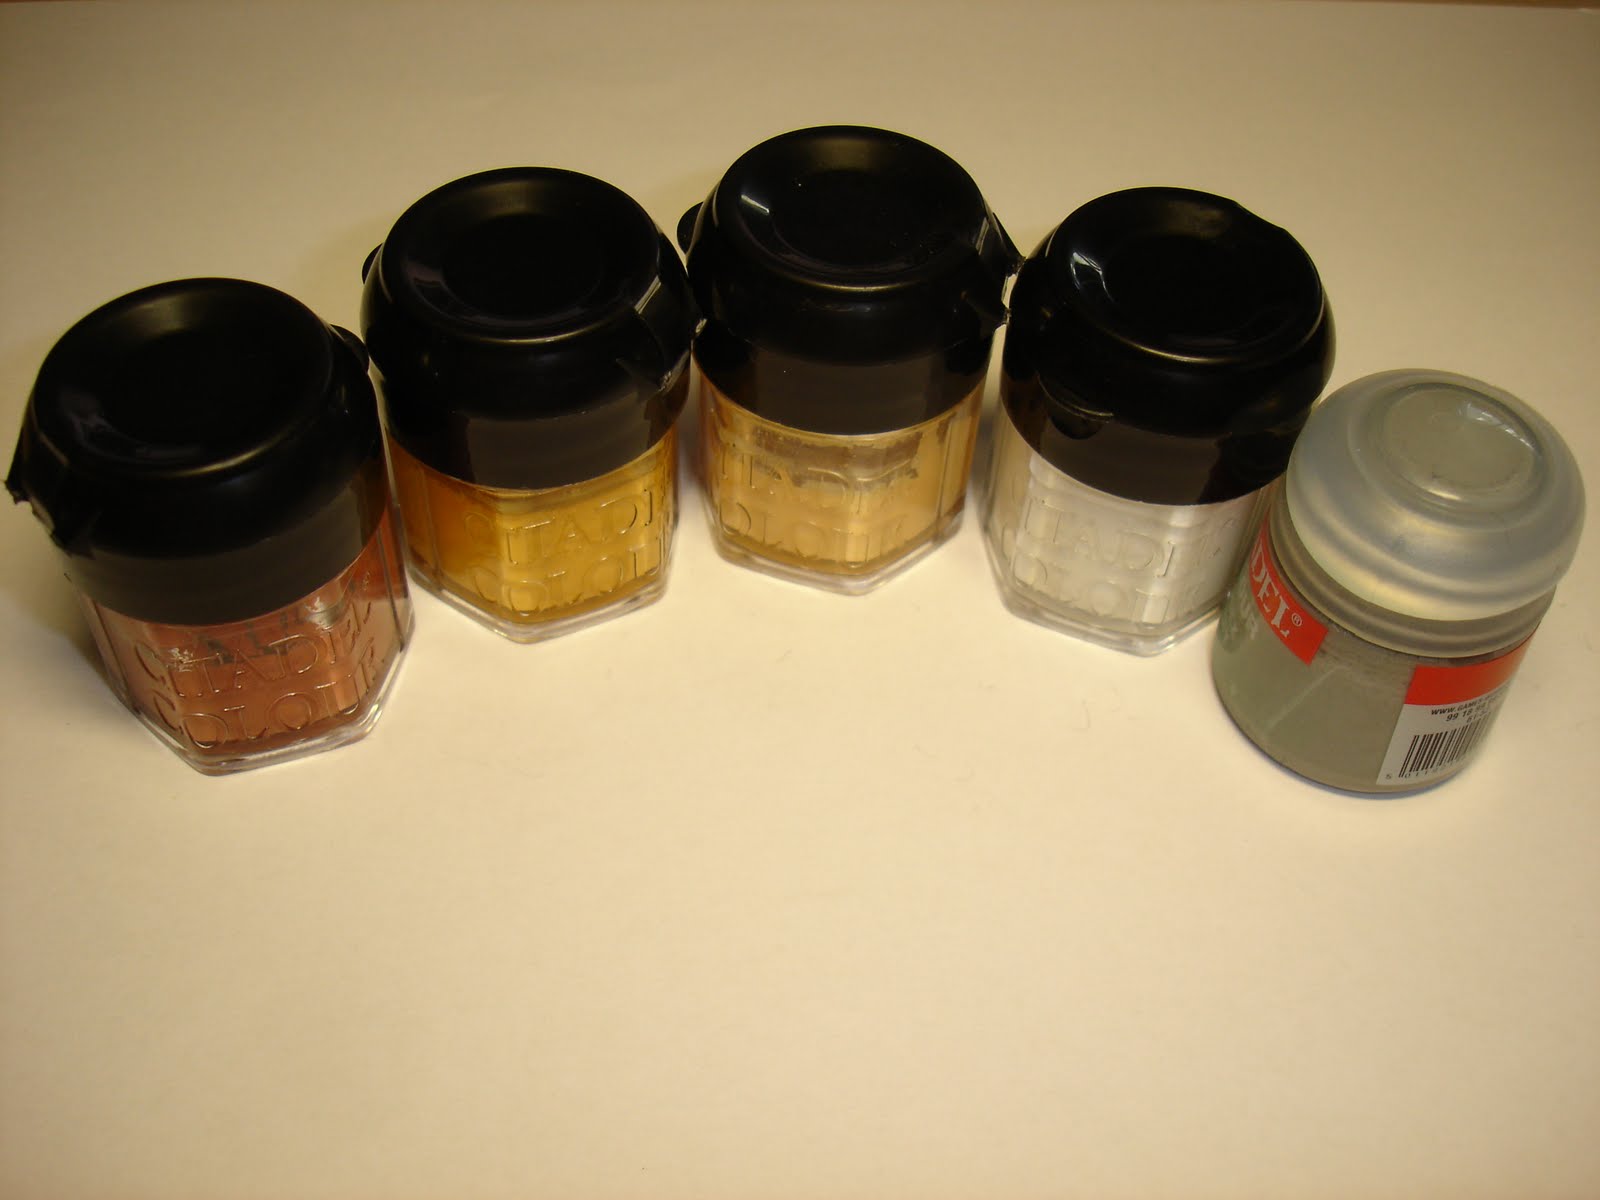
> Ground Colour is a mix of Scorched Brown, Bronzed Flesh and Vallejo Air Golden Brown (10-1-2). I painted several thin layers of this colour onto the bag.

> I added more Golden Brown to the mix and took a "larger" brush (Da Vinci Nova Synthetics Size 0). I dipped the tip of the brush into the paint and removed most of the colour on a tissue. Note that the tip must not end in one point, an older brush does a very good service here. I then started dipping the almost dry brush onto the bag, trying to let the pattern look random.

> I repeated this step two times, once by adding more Golden Brown and once by adding a bit of Bleached Bone. The contrast must be very strong at this point.

> Then I used "Badab Black", one of Citadels new washes and thinned it down a lot. After about 5 to 7 layers, you start seeing how the colours run together, the contrast isn't that strong any longer.

> The last step is to take some undilluted wash and dip it on the bag, leaving really dark spots. This is it.


The contrast on the last pictures is hardly visible, it is a bit stronger in real.


Shejtan asked for some colour recipes, I will a list of the colours I used in the end of the painting process.


Thank you very much for your great support via mail and here on the blog!!!!


Chris

Live painting, update #7: just a bottle

A really small update, the water bottle is finished. There are two hours left for painting, then I have to leave.

If you have any idea for the base, let me know. It must be desert or at least stony ground...


@ Philip: thanks a lot for your kind words!!!


Chris

Live painting, update #6: going into detail

The remaining things are fun, small details in different colours, nothing repetitive. I painted a rough surface onto the brown cloth, unfortunately the picture hides most of that. The contrast isn't that hard in real. I will add more nuances to the uniform when all details are finished to get the right colours.

You can still ask questions or send feedback to ugotitbad(at)gmx.de


Chris

Live painting, update #5: painting the uniform

The colour of the uniform refers to Osprey Men at Arms # 198, The British Army on Campaign 1856-1881 (page 29 ~ soldier on the left). This link gives some rough information about the regiment the miniature refers to, here you can read about the British activities in Abyssinia.


I painted for two more hours yesterday and managed to put some lights and a few shadows onto the uniform. For further lights I used more Vallejo Air Skin Tone, what proved to be a mistake. The result is a Khaki uniform, instead of a light grey one. I painted several glazes of grey onto the mini but it didn't change the colour that much. Then I decided to either rescue or ruin the mini and mixed some Codex Grey with Chaos Black. This quite dark colour was painted onto all surfaces which were meant to be in the shadow. The result is not breathtaking, but it is ok for me. I then noticed, that the uniform looks very new and unworn, so I painted a lot of dirt by just tipping the brush with thinned down colour on the miniature. Unfortunately, the last pictures don't really show this effect.
The uniform still looks a bit too monotounos for me, so I will paint a few shadows using greens and brown, we will see what happens.


First lights have been added by using more Vallejo Air Skin Tone. After this
Mix, I should have used Bleached Bone....

Soft folds get blendings, hard folds get NO blending, very important...

Current state of the miniature, the focus is quite clear.


I just notices that is might make sense to write an article about different kinds of cloth and the best way to paint them. There was a time when each and every fold on cloth I found became its own blending, what is absolutely not necessary and rather unrealistic.

Sebastian asked about the noozle of the airbrush and the thinning of the colour.
> The noozle I used is 0,3mm, the thinning grade is hard to explain. I try to use as much Vallejo Air as possible because you can use that colour from the pot. Vallejo Model Colour proved quite difficult.


Chris

Mittwoch, 24. August 2011

Live painting, update #4: using airbrush on the uniform

I took a break, had a coffee and something to eat. After that, I used Tamya masking tape to protect the face, boots and the free hand from the colour that will be sprayed onto the miniature. The Basecoat is a mix of Vallejo Dark Sea Grey, Vallejo Model Air Gray Primer and Vallejo Model Air Skin Tone (10-1-3). After two layers of basecoat I added a bit more Skin Tone to the mix and sprayer the first lights. I then added more Skin Tone and repeated this step. The nuances on the uniform are very narrow, there is still a lot of work to be done with the brush.


I will now start to paint lights on the uniform, using the rest of the colour from the airbrush. There are about two hours left for today and I will definitely not be able to finish the mini. For that reason, I will continue tomorrow at 7am. :)


@ Volomir: thanks a lot man!!!

@ Tom Riddle: I used no airbrush for the face but for the uniform.

@ Colonel Shofer: thanks a lot :)

@ Tuffskull: I am glad that you like it.

@ Sebastian: see above for the masking tape...


Chris

Live painting, update #3: finished face

Here are some pictures of the finished face, hope you like it. As always, pictures are very bad (click to enlarge). :)


Thanks for all the positive feedback via email and comments.


Chris

Live painting, update #2: painting the face

I feel like I could use a typing monkey. I am not used to interrupt while painting for taking pictures but somehow it works.

Painting the face (theory): For me, the face of a miniature somehow determines the feeling, the ambiance and the sympathy. Although the face is very small, I think it catches about 50% of the viewers attention, the rest is bonus (what does not mean that you should rush there). A well painted face show good blending skills AND hard lights at the same time. You need very strong lights and shadows on a rather small surface to achieve something that seems individual, that gives the miniature its face. Most important is the T-zone, what I will now explain in detail.
Imagine a "T" right in the middle of the face of your miniature. The horizontal line are the eyebrows, the vertical line is the nose down to the chin. This "T" shows the lightest areas in the face. In addition to that, you have the nasolabial folds, which are very light as well and determine the harshness of the miniature. This "T" and the nasolabial folds are surrounded by the darkest areas in the face. The area under the eyebrows, running down the side of the nose und the point under the lip but above the chin are really, REALLY dark. By putting this contrasts together, you get a well painted face.

Colour choice: Everyone has his own recipe for painting skin, I use Tanned Flesh, Bronzed Flesh, Elf Flesh und Skull White for the basic blending and lights. Shadows and nuances are set with every colour  I like, green, purple, red, blue, grey.....


Basic colours, codex grey for the beard


Base colour is Tanned Flesh + Bronzed Flesh (3:1) - the face is primed quite rough


First lights by adding more Bronzed Flesh, you can hardly see any difference


More Bronzed Flesh has been added, you start to see the "T"-line


Elf Flesh has been added to the mix, the lights are now very clear and you just follow the path


The lights are very strong now, to strong in fact. Don't care about that, you can change that later.


The lights are finished, the miniature looks more like a ghost at this stage.


This is quite a huge step in one picture, I glazed the face several times with
the base tone. Then I painted the beard with a mix of Tanned Flesh and
Codex Grey (3:1). Then I painted red under the cheeks, green onto the temple
and several mixtures to darken the area next to the "T"-line.
 
Note that the face still looks rather strange and unfinished. This is because the moustache und the hair is not painted yet. I didn't paint the neck because I will now mask the face and do some airbrush work.


Thanks to Sebastian for encouraging me to go on....

Sleipnir asked wether a banner pole counts towars the size of the wooden base.
> Yes, I think so.


Chris